Showing posts with label Prototype. Show all posts

Monday, 28 August 2023

Jhumka 2: Prototype Process 2


Attempted final look 
This is what it turned out as the final look after doming it. I did not like how this final look turned out 

Wednesday, 23 August 2023

Jhumka Design 2: Prototype 1

Jhumka: design Reference

Rhino 5: CAD drawing 
 
Design stuck on a brass plate/ Pierced out design


pierced and filed to neaten the design

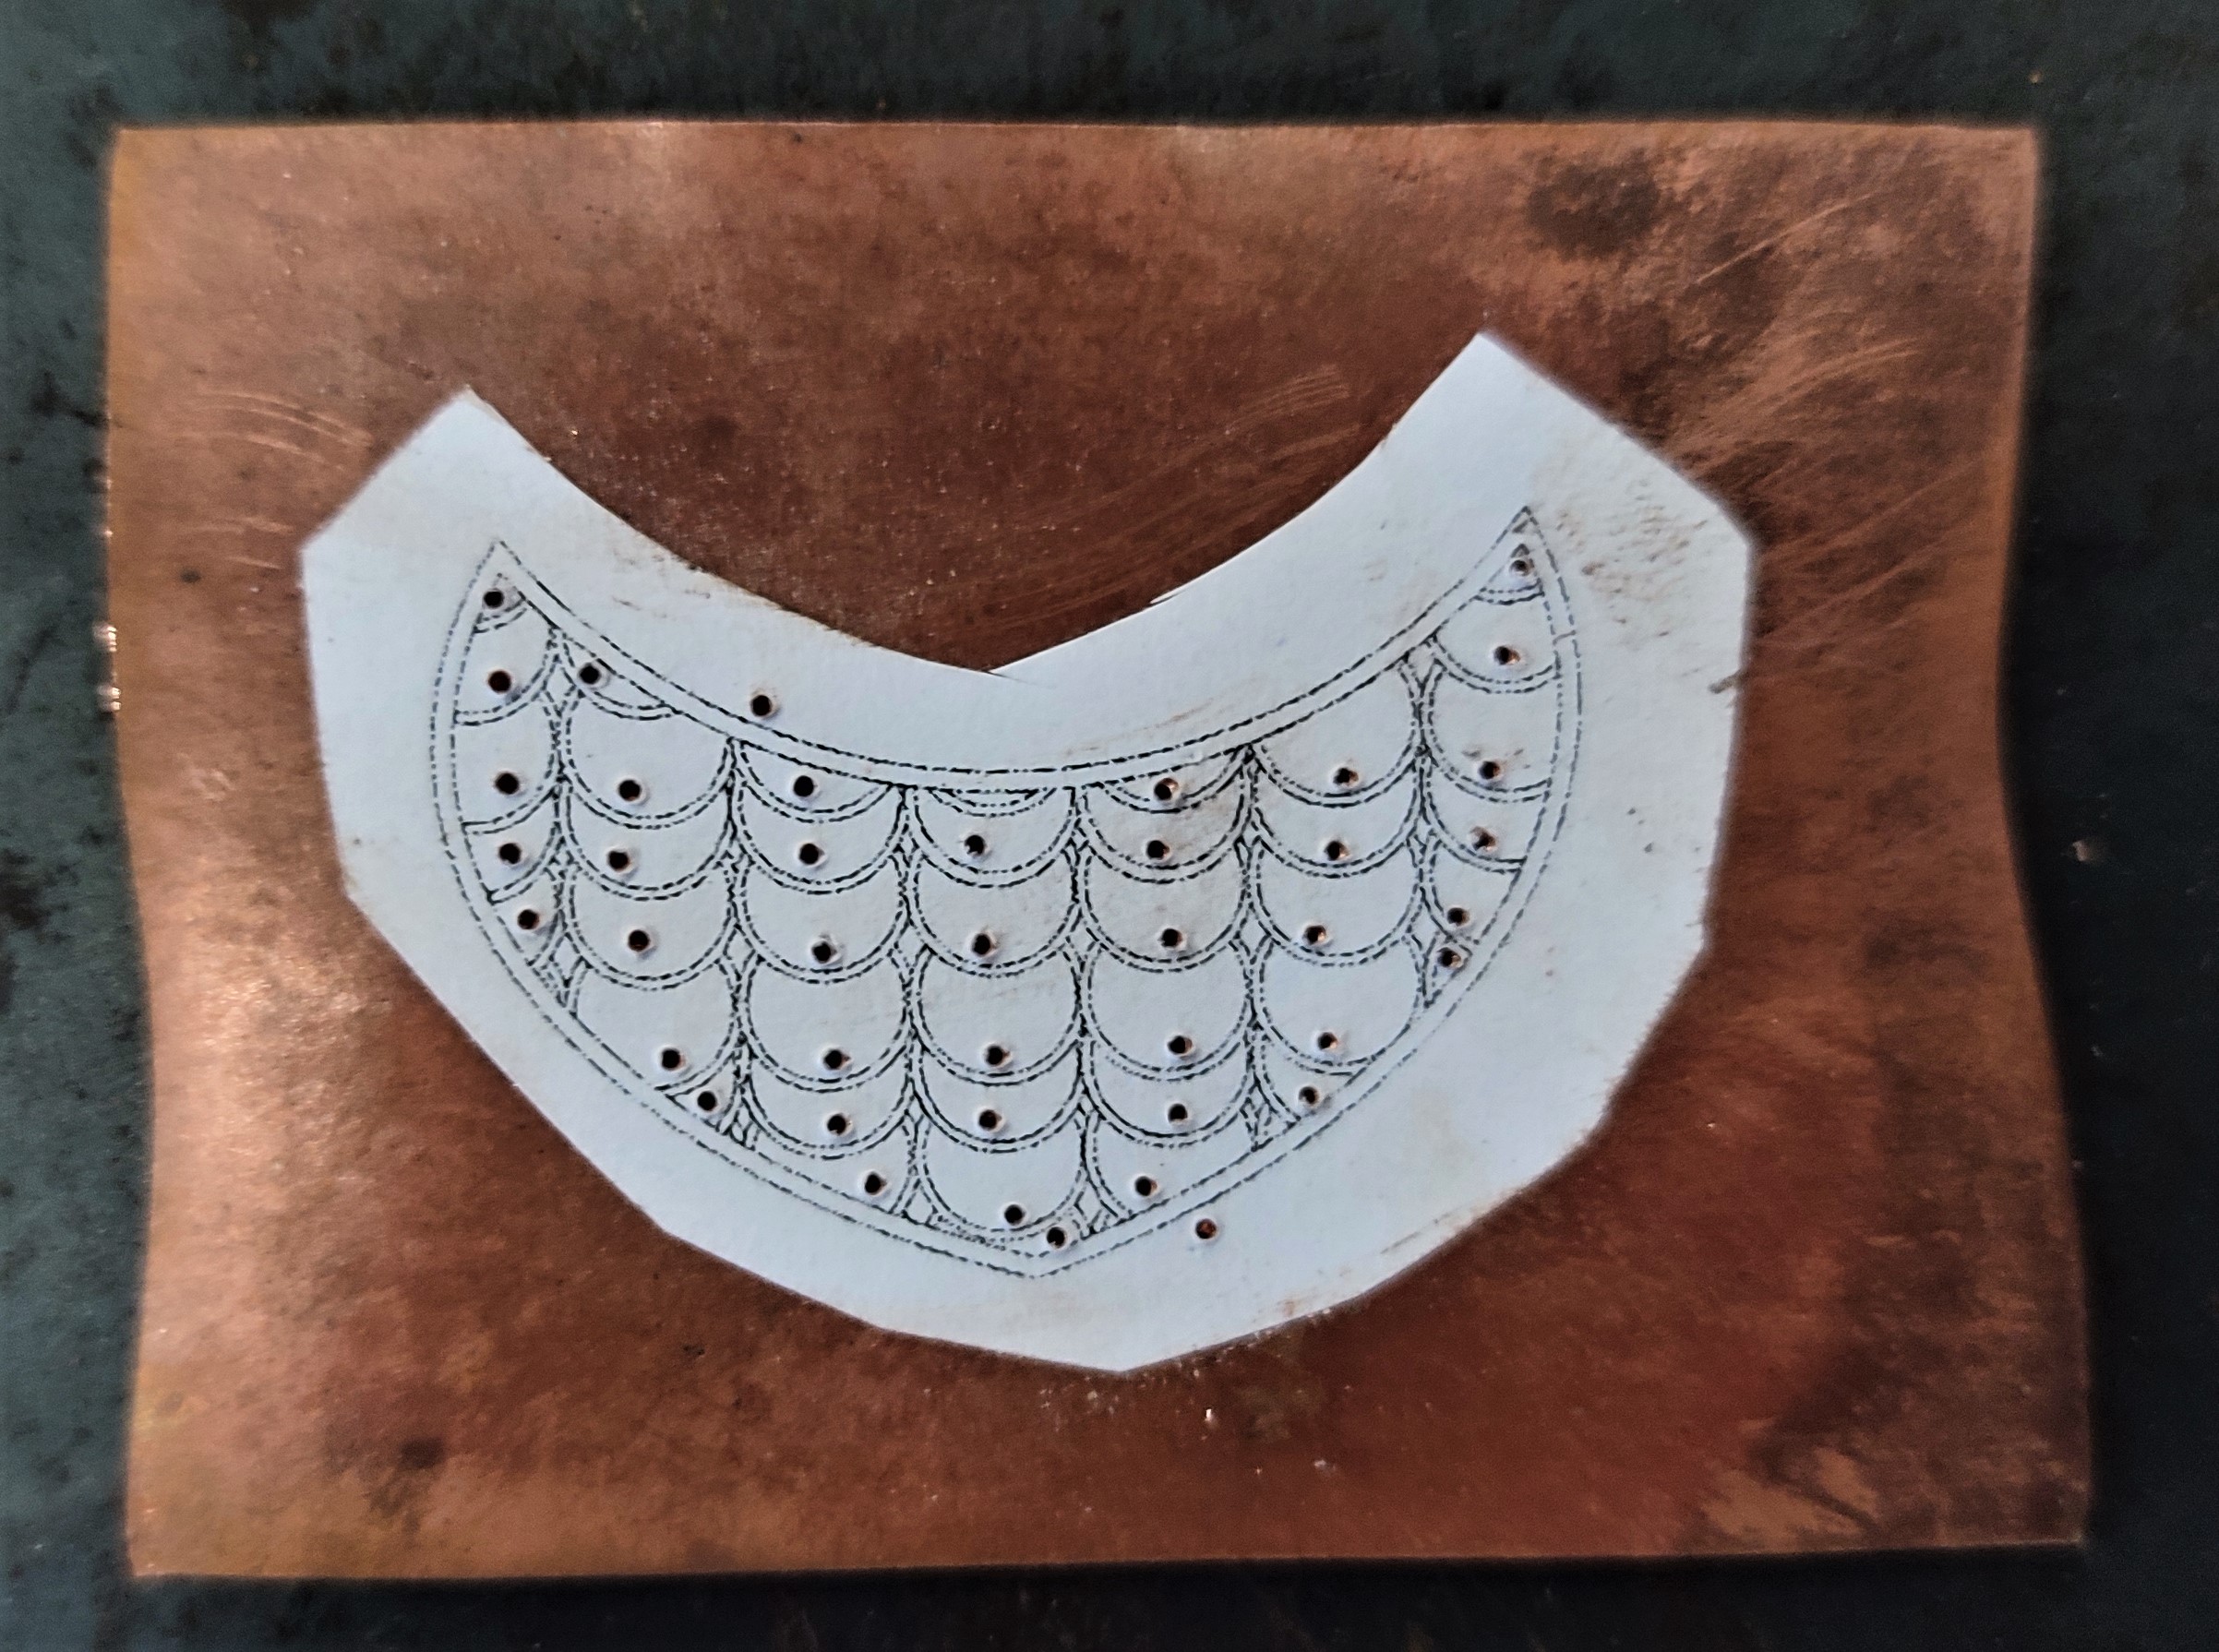
Jhumka prototype process 2 : Metal work

Print design stuck on the copper with drilled holes

 
Pierced design 


Pierced and filed to neaten the design 

Monday, 31 July 2023

Silver Prototype


silver prototype

This is the final appearance of the silver piece. The right plate was pierced, and the design was meticulously crafted using Rhino 5 for accuracy. To achieve a better-defined shape, the size was scaled down, and adjustments were made to the fly press after evaluating the prototype.

Fy-press Process: Silver

The shape needed to be fly-pressed

The design is pasted on a brass plate and used as a mould. A matching shape is cut on a piece of wood for added depth. Both pieces are secured together with masking tape. Neat and precise cut-outs ensure a clean outcome.
 

Hydraullic Jack with the mould to be compressed
The process begins with a steel block placed on the hydraulic jack as the bottom layer, followed by a cut-out wood piece for added depth. Then, the fly-press design mould and rubber mould are stacked on top, with another steel block for increased pressure. The nearby steel rod functions as a lever, enabling up and down movements to move the jack upwards, compressing the sheet of metal into the mould.
The outcome look
This is the appearance of the piece after being removed from the hydraulic jack. The compression process gives it the final shape. The material used is a 0.5mm thick silver sheet, chosen for its malleability, allowing for easy compression into the mould.

Removed from the mould look

After removing the tape, the silver sheet is taken out from the mould, revealing the outline shape of the design to be pierced for a more defined look. However, upon closer inspection of this outcome, the overall shape and appearance were not pleasing and didn't convey the intended feeling of the final piece. 


Monday, 12 June 2023

Paisley Earrings:Prototype in Copper


Paisley Design in Copper 

  The Copper paisley pattern has spirals made from copper wire inserted in the paisley to create a Mendhi pattern. It is tricky to get the spirals to fit in the paisley but once you get the hang of it, it becomes easier and quicker to make more range of spirals in different sizes to fit perfectly into the paisley. 


Saturday, 10 June 2023

Paisley Pattern: Prototype process


Paisley and spirals made out copper 

The spirals and paisley pattern making process is beginning where the trail and errors are happening of trying to maintain the similarities for the paisley pattern and spirals.


Combining spirals to the paisley pattern

The process of having to combine the spirals to the paisley pattern to create the mendhi pattern look. Beginning to see that the paisley pattern needs more work and the spirals are beginning to keep the same look for each one but need to be in different size ranges. The thickness for both the spirals and paisley needs to be more thinner as the thick wire is not allowing the design outline look appeasing much. 
Manufacturing process 


The making process included 3 pliers which were the flat, double round and chain nose pliers for the spirals. Firstly anneal the wire, then use the double round pliers to get the beginning start of the spiral, hand movement is very important and then continue with the spiral twisting using the flat pliers, you may use the chain nose to flatten the spiral if it begins to move out of shape. This youtube video helped guide me:how to make spirals
For the paisley pattern I used the half round pliers and chain nose pliers to create the shape. 


Friday, 24 March 2023

Engraving/Etching: Prototype

 I decided to just practice what it would look like having to engrave and etch a mendhi design on metal...so I took a plain copper plate and my wax tool(Scapula) and just started engraving the mendhi design I had flowing as I set the tool to the plate. Then to add more detail, the detail I decided, why not etch the shaded tone to the design

Mendhi design engraved and etched on copper plate

Mendhi Cuff Prototype Process 2:

 This is was the outcome of the copper strips after being rolled, engraved and pierced.

Mendhi Cuff  Visually on the body
Currently in this process to think whether I should join them with link chains or leave the cuff to be placed with the flow of the moment as in can be placed in any form of way that satisfies the wearer. 

Wednesday, 22 March 2023

Mendhi Cuff: Prototype Process 1

This is basically a strip of copper that I cut and thinned out in thickness by rolling the plate with a plate roller. Used a broken drill bit to make the patterns and tapered fissure bur drill bit to make the lines.

Plain Cuff, Copper plate strip and mendhi designed plate
Mendhi design on plate 

Wednesday, 15 March 2023

Prototypes: Pendant

 This image is of my design for a pendant that has the Ganesha centred with the mendhi design surrounding him..the Ganesha( Hindi GOD known as remover of all obstacles) is worshipped before you begin any event especially weddings...the men pray to Ganesha before entering the hall to ensure everything goes smoothly for their married life ahead. The mendhi designed around is for the woman that have a ceremony before her wedding day ,which is a mendhi night. 


Pierced paper 
Brass plate about to be pierced with freehand drawing